What is the HTTP Request Header: User-Agent?
HTTP headers User-Agent is a request header that allows network protocol peers to be introduced to the server as a characteristic string when you request a website, such as Browser, Operating System, IP address.
In 2020, Google announced that they would be phasing out support for the User-Agent header in their Google Chrome browser. Google explained that its goal it to provide a healty compromise to give its developers the information they may need and still respect one's privacy. They stated that other major web browser vendors were supportive of the move, but that they did not know when other vendors would follow suit. Before the deprecation of the User Agent string, Chrome will introduce a new feature called User Agent Client Hints or UA-CH. Simply put, UA-CH will provide all of the same information that the User Agent string provides today, but each portion of the data must be explicitly asked for and approved by the browser. At the start, there are no protections on this information, but it will be simple for a browser to detect and block any unnecessary UA-CH requests.
In 2020, Google announced that they would be phasing out support for the User-Agent header in their Google Chrome browser. Google explained that its goal it to provide a healty compromise to give its developers the information they may need and still respect one's privacy. They stated that other major web browser vendors were supportive of the move, but that they did not know when other vendors would follow suit. Before the deprecation of the User Agent string, Chrome will introduce a new feature called User Agent Client Hints or UA-CH. Simply put, UA-CH will provide all of the same information that the User Agent string provides today, but each portion of the data must be explicitly asked for and approved by the browser. At the start, there are no protections on this information, but it will be simple for a browser to detect and block any unnecessary UA-CH requests.
How User-Agent Works?
User-Agent transmits the information such as browser, operating system, IP address as a string to the server. When the browser you are using brings a website to you, it identifies itself as a medium and your browser sends the user-agent ID and the information it holds about the device and network it is working on as a set of data. This event takes place on every website you enter.
When your browser connects to a website, a user-agent field opens in the HTTP header.
To give an example;
Mozilla/5.0 (Macintosh; Intel Mac OS X 10_10_2) AppleWebKit/537.36 (KHTML, like
Gecko) Chrome/51.0.2704.84 Safari/537.36
Breaking the example down, we get the following information:
The user-agent application is Mozilla version 5.0, or a piece of software compatible with it.
The operating system is OS X version 10.2.2 (and is running on a Mac)
The client is Chrome version 51.0.2704.84
The client is based on Safari version 537.36
The engine responsible for displaying content on this device is AppleWebKit version 537.36
(And KHTML, an open-source layout engine, is present too)
After tge User-Agent introduces itself to the web server, the web server uses this information to
provide web pages suitable for different browsers and different operating systems. The web server
can edit the page design according to its user-agent string, return a web page version. This
information provided by user-agent is used by websites for improving user experience, customization
and higher performance on web sites.
Now, lets get the desktop view for Android in Firefox using the User-Agent. I will adjust the desktop
view of my browser on my computer. For this, I go to whatu.info site. This website directly displays
your information such as your IP address, User-Agent ID, location etc.
My User-Agent : Mozilla/5.0 (X11; Lİnux x86_64) AppleWebKit/537.36 (KHTML, like Gecko)
Ubuntu Chromium/80.0.3987.149 Chrome/80.0.3987.149 Safari/537.36
Step1: Open the Firefox for Android and let's go to www.google.com

Step2: In the Firefox address bar, type "about:config" and press Enter.
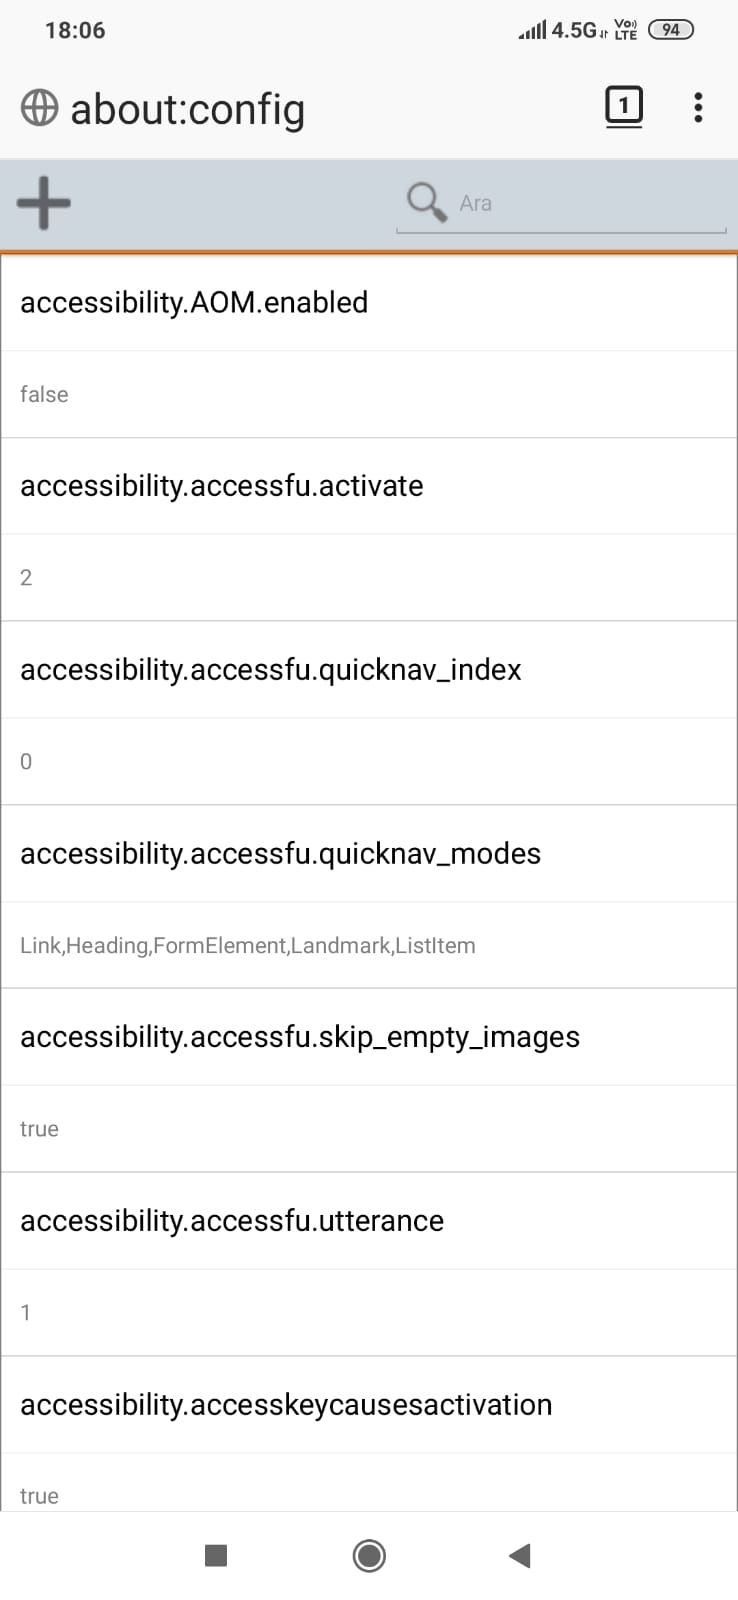
Step3: Click on + icon.

Step4: For name, enter "general.useragent.override" , for type enter "String" and for value, enter the
browser user-agent string you want to use.

Step5: Restart Firefox and confirm that web sites are loading the desktop versions.

Basic Example with Flask
Now, Let's make a simple example with Flask. What is Flask and how to set it up?
We will create an HTTP server and print the browser information according to the user-agent
information of the user.
If the user uses Chrome as a browser, let's write Chrome on the screen.
If the user uses Firefox as a browser, let's write a Firefox on the screen.
I saved this code as server.py . It will work running on http://127.0.0.1:5000/
#/usr/bin/python

from flask import Flask,request
import httpagentparser
app = Flask(__name__)

import logging
logging.basicConfig(format="%(asctime)s | %(name)s | %(message)s", level=logging.INFO)
LOG = logging.getLogger('simple-example')

@app.route('/')
def detectBrowser():
    agent = request.environ.get('HTTP_USER_AGENT')
    browser =httpagentparser.detect(agent)
    if not browser['platform']['name']:
        browser = agent.split('/')[0]
    else:
        browser = browser['browser']['name']

    return browser

LOG.info("Starting HTTP server...")
try:
        app.run(host='0.0.0.0')
except KeyboardInterrupt:
        LOG.info("Exit requested")
        worker.close()


if __name__ == '__main__':

 app.run(debug=True)
To run, we make ;
$ export FLASK_APP=server
$ flask run
to the console and the connect to localhost:5000
Note that you can also send request with curl. You will see that it says curl on the console.


Hiç yorum yok:
Yorum Gönder